Aside from setting expressions, you can also create your own custom expressions. Expressions are made up of four musical notes. Use your imagination to design characters with funky, creative, out-of-the-box personalities! Start by asking yourself: what special character do I want to bring to life?
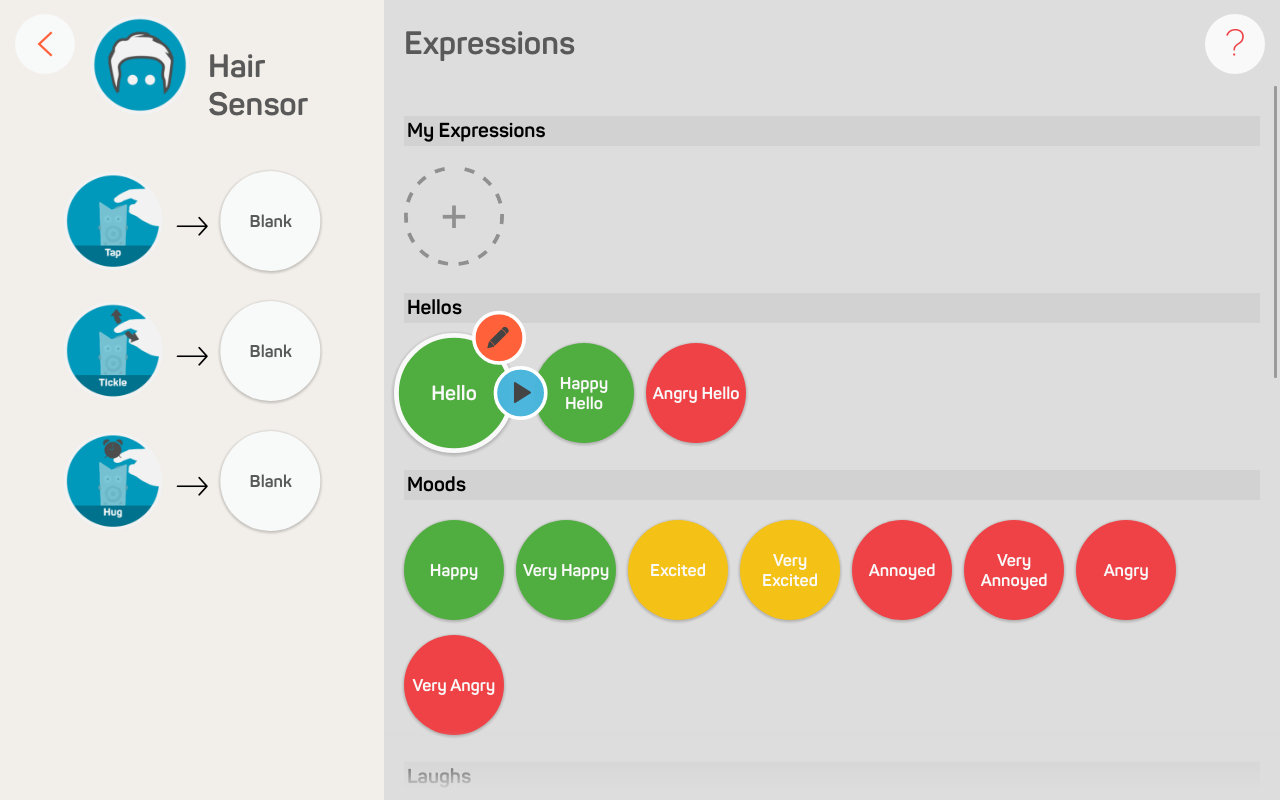
First, click on any expression in the menu provided. You’ll see a pencil icon pop-up. Select it to enter the expression editor. Here is where you can customize your robot’s eye colour, experiment with light patterns, and make your own expressions by adjusting notes, intonations, octaves, and durations.
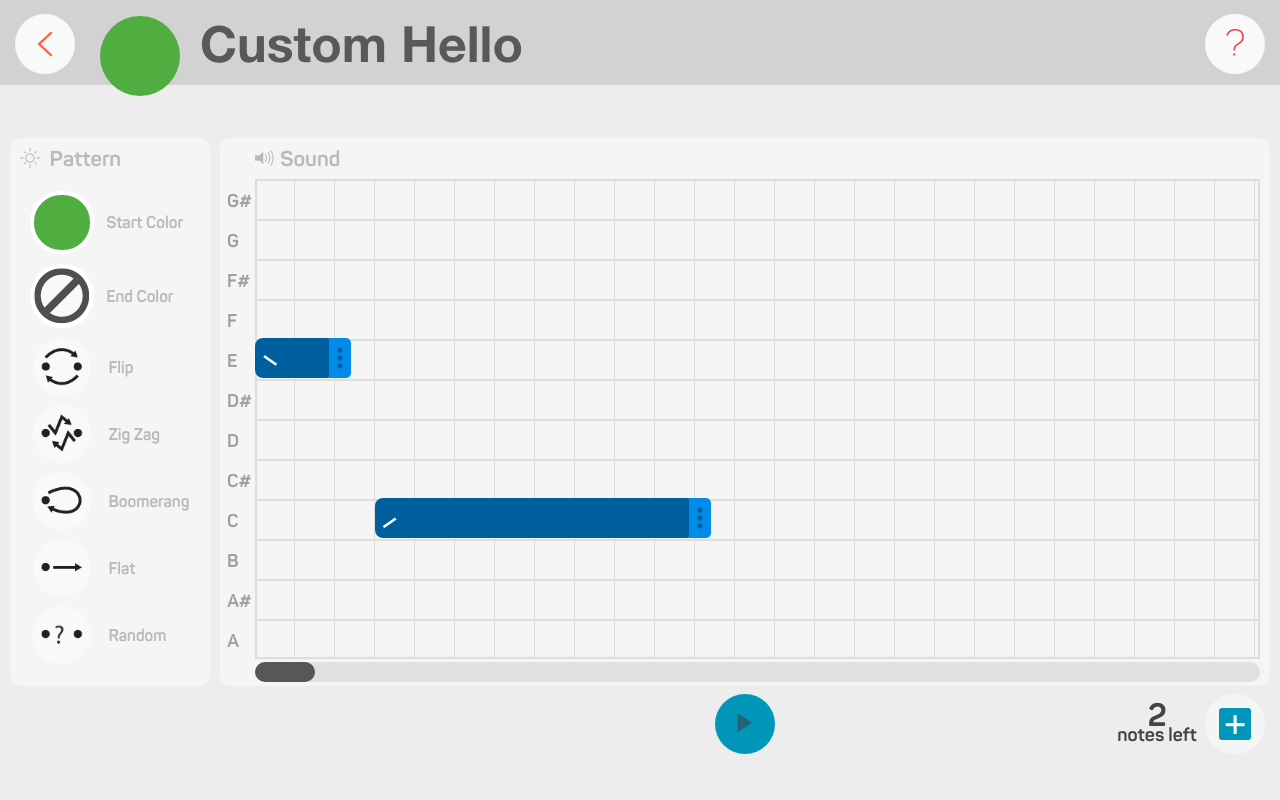
On the left side of the expression editor you’ll see a pattern menu. This is where you can customize your robot’s eye colour and pattern.
Here’s what Colour A & B represent:
Here’s what each transform does:
The grid area is where you customize your robot’s sound. You can edit up to four-notes in your expression. You can see how many notes are left to add on the bottom of the editor.

There are 12 notes on our music grid: A, A#, B, C, C#, D, D#, E, F, F#, G, G#. Drag each sound bar up and down to test and change the notes.
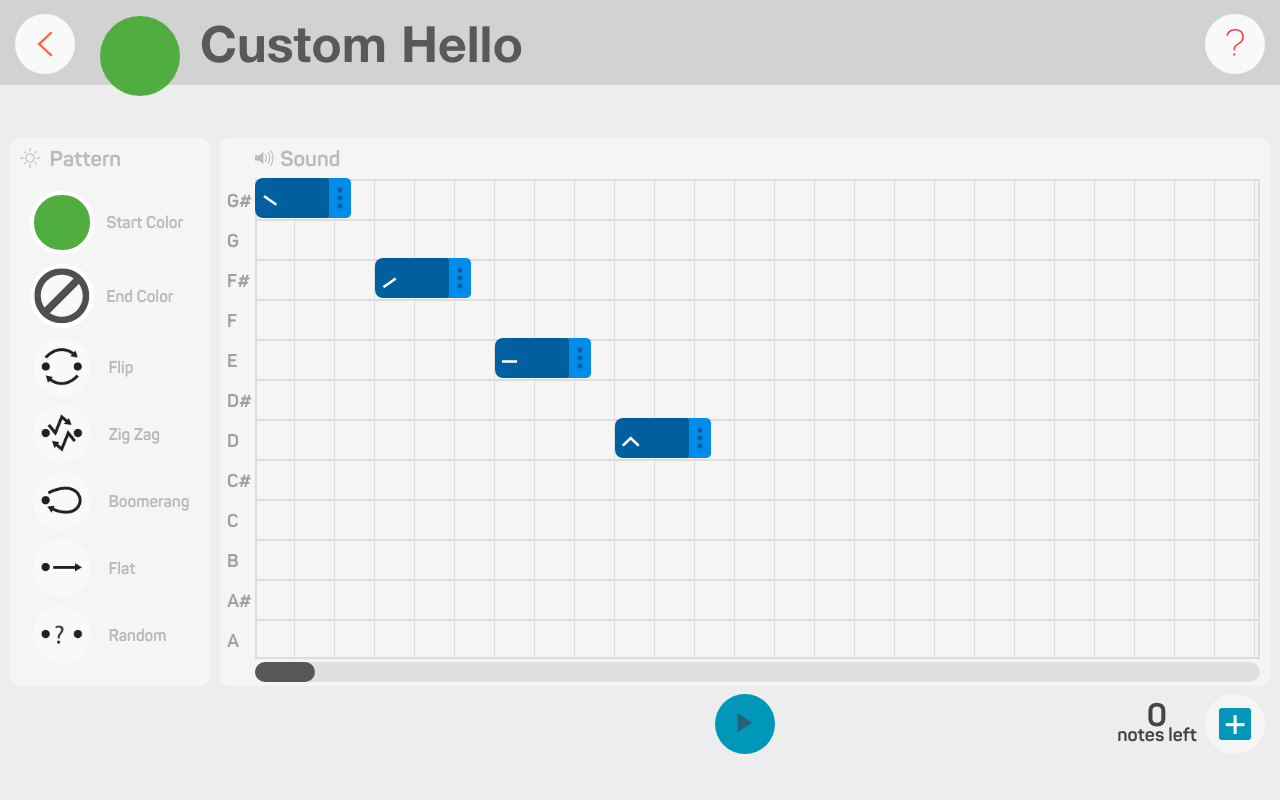
You can also make a note longer or shorter by clicking on the handlebar and stretching it horizontally.
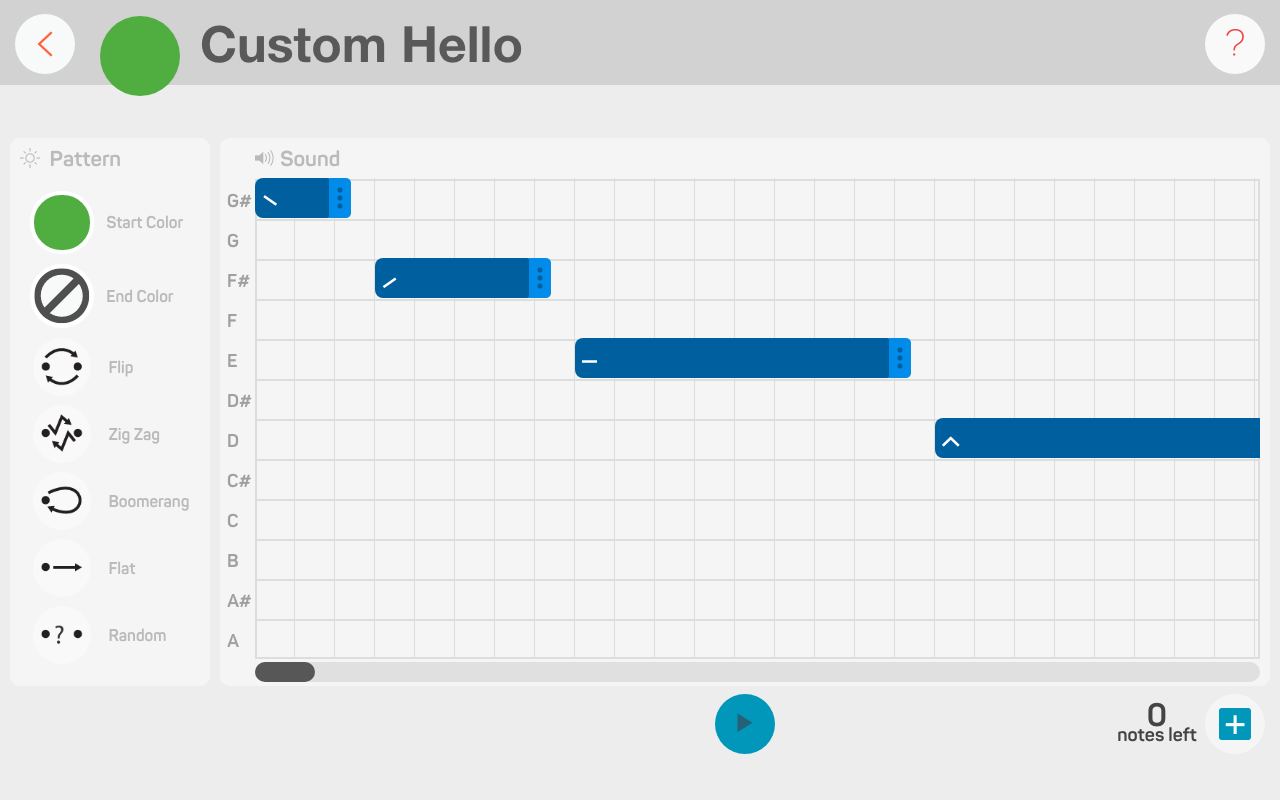
Lastly, click anywhere on the soundbar for the intonation and octave menu.
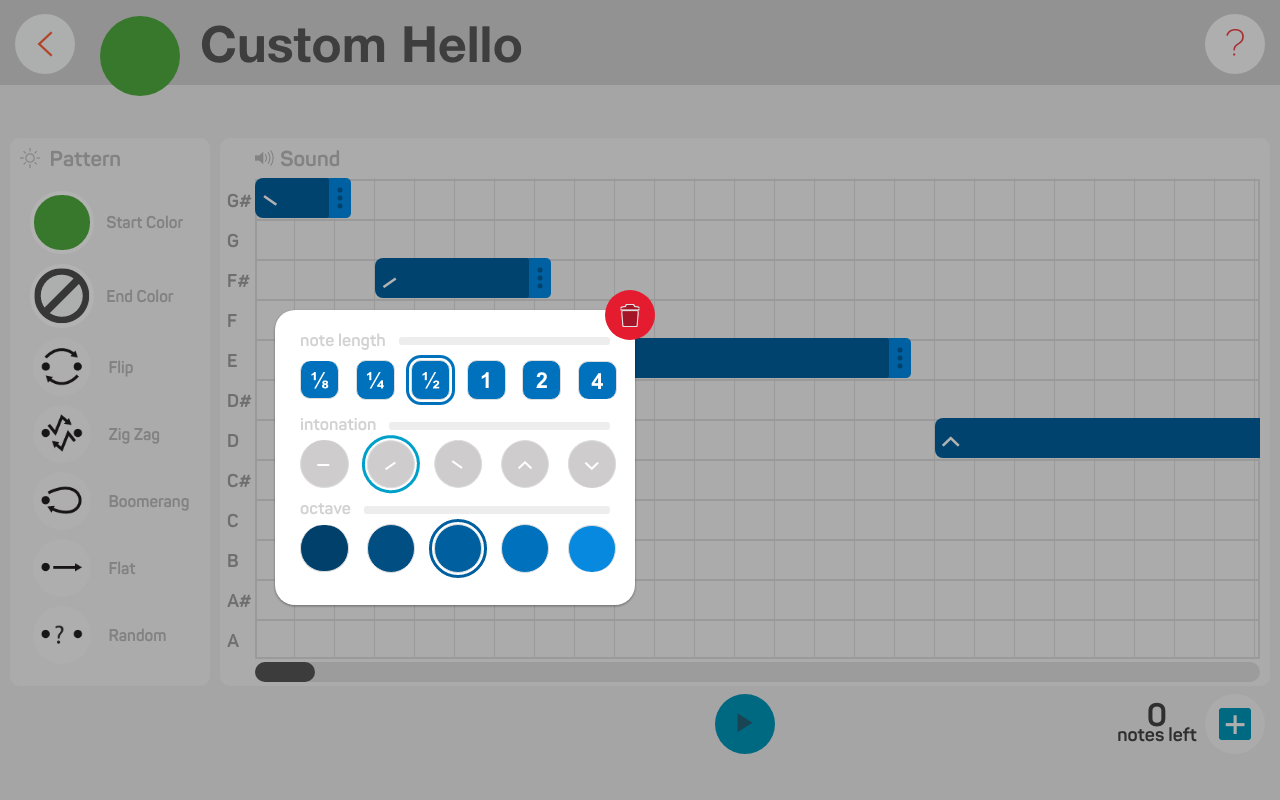
Here’s what each intonation symbol means:
The octaves are set from dark to light. The darker the circle, the lower the octave. The brighter the circle, the higher the octave.
Don’t forget Expressions are made up of four notes!
Now that you know how to use the expression editor, try creating your own custom expression for your character. To preview your custom expression, click on the play button at the bottom.
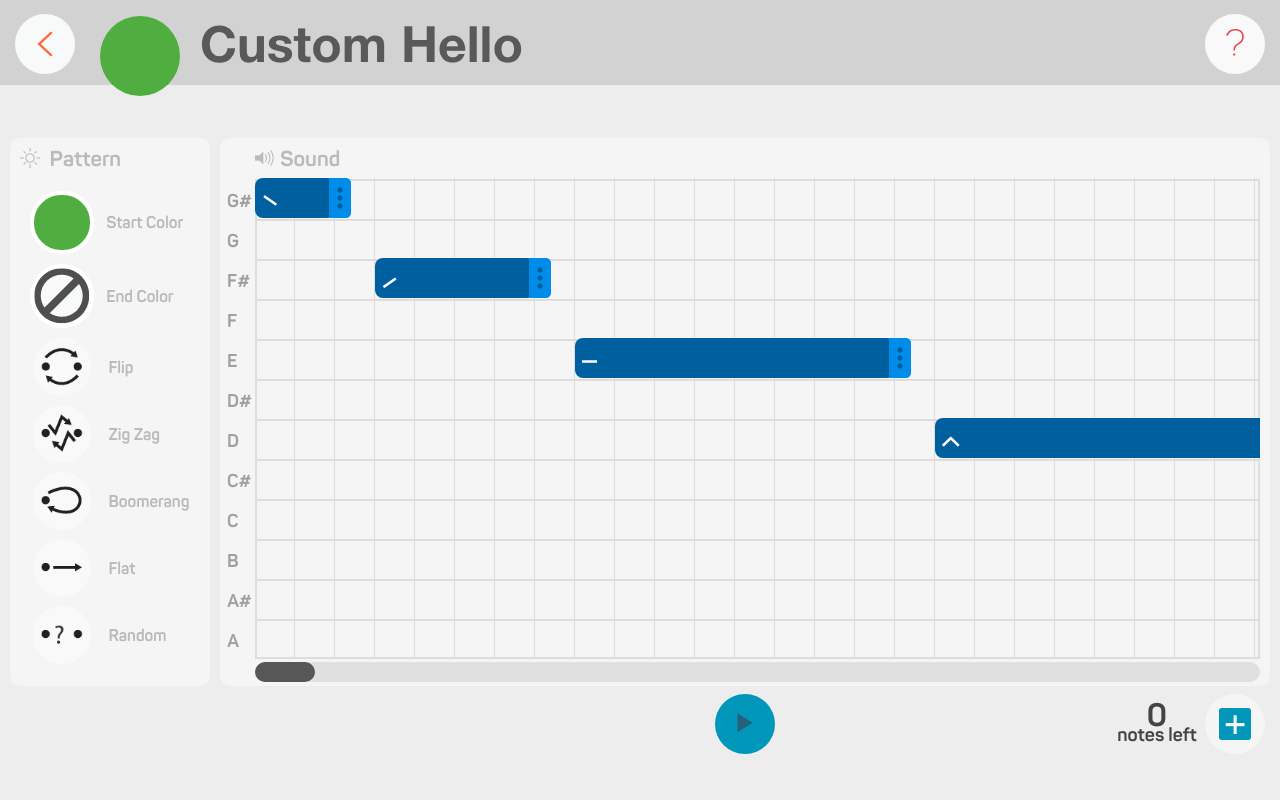
When you’re done making your expression you’ll want to give it a special name so you know it’s yours. Click on the text box at the top and start typing!

To map your expression onto a sensor and event, click on the back button. All of your custom expressions are saved in your My Expressions library.
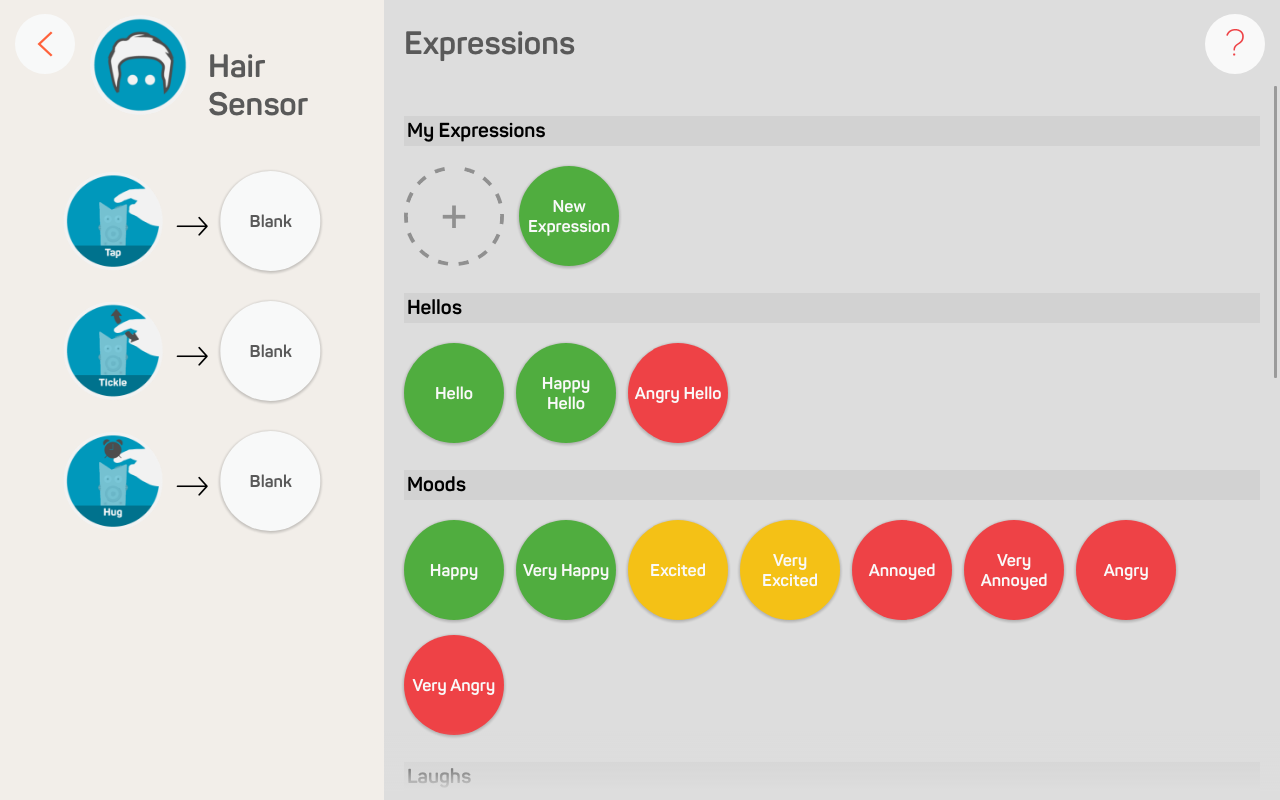
Drag-and-drop your custom expression into the event circle, the same way you would with a pre-set expression!

What’s next? Try designing as many expressions as you can! Map them to all of your robot’s sensors!