Let’s learn how to program expressions with real-world code. If you’ve already played with the Little Robot Friends App, then you’re familiar with expressions! Expressions are the way your robot shows its feelings and moods.
Challenge yourself by programming unique expressions for your robot in C & C++.
An Expression, or LRFExpression as written in code, is a combination of sound and light patterns. There can only be up to four notes in an expression.
LRFExpression myExpression =
{
  .pattern = { LRFColor_Green, LRFColor_Purple, LRFTransform_Boomerang, LRFDuration_DoubleLong },
  .sounds = {
    { LRFNote_C, LRFOctave_3, LRFIntonation_Flat, LRFDuration_DoubleLong, LRFDuration_Medium },
    { LRFNote_C, LRFOctave_3, LRFIntonation_Rising, LRFDuration_DoubleLong, LRFDuration_Medium },
    { LRFNote_C, LRFOctave_3, LRFIntonation_Falling, LRFDuration_DoubleLong, LRFDuration_Medium },
    { LRFNote_C, LRFOctave_3, LRFIntonation_Peaking, LRFDuration_DoubleLong, LRFDuration_Medium }
  }
};
First, you create the pattern (colour A, colour B, transform, and duration).
Second, you create your four lines of sound. Each sound contains a note, octave, intonation, duration, and pause. Check out the complete Little Robot Friends reference sheet for all of the constants and values!
Let’s try to program an expression from scratch!
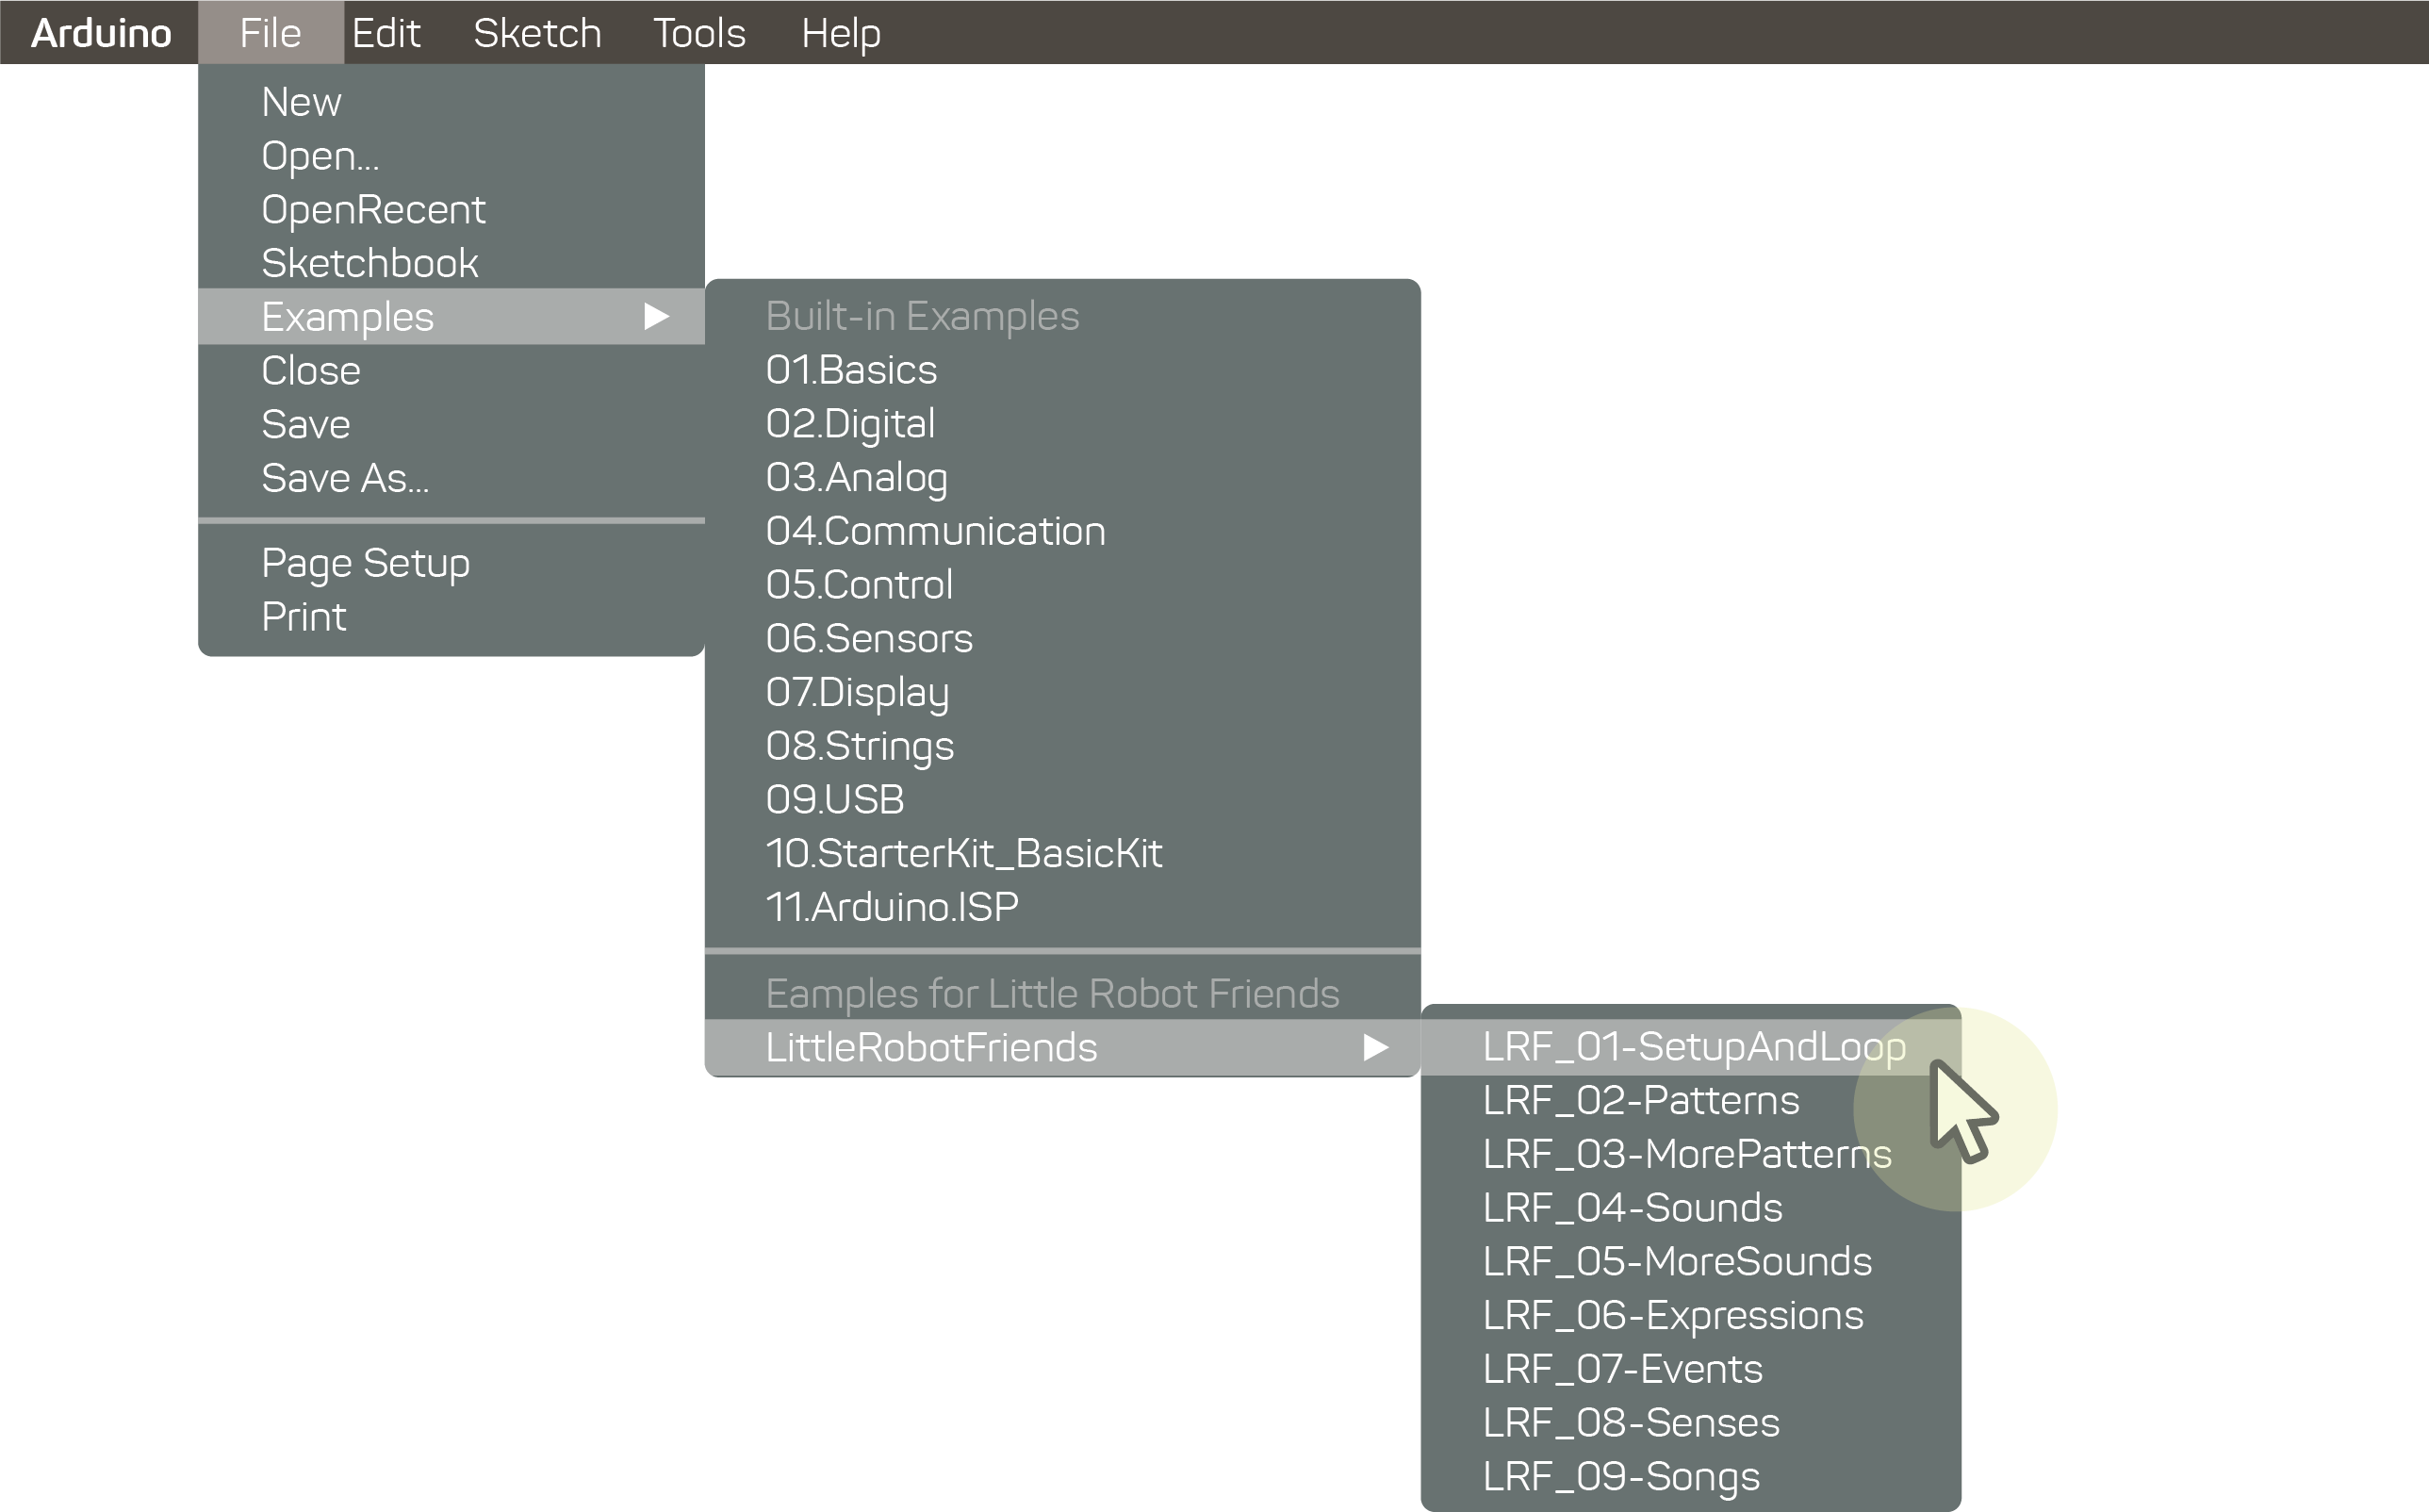
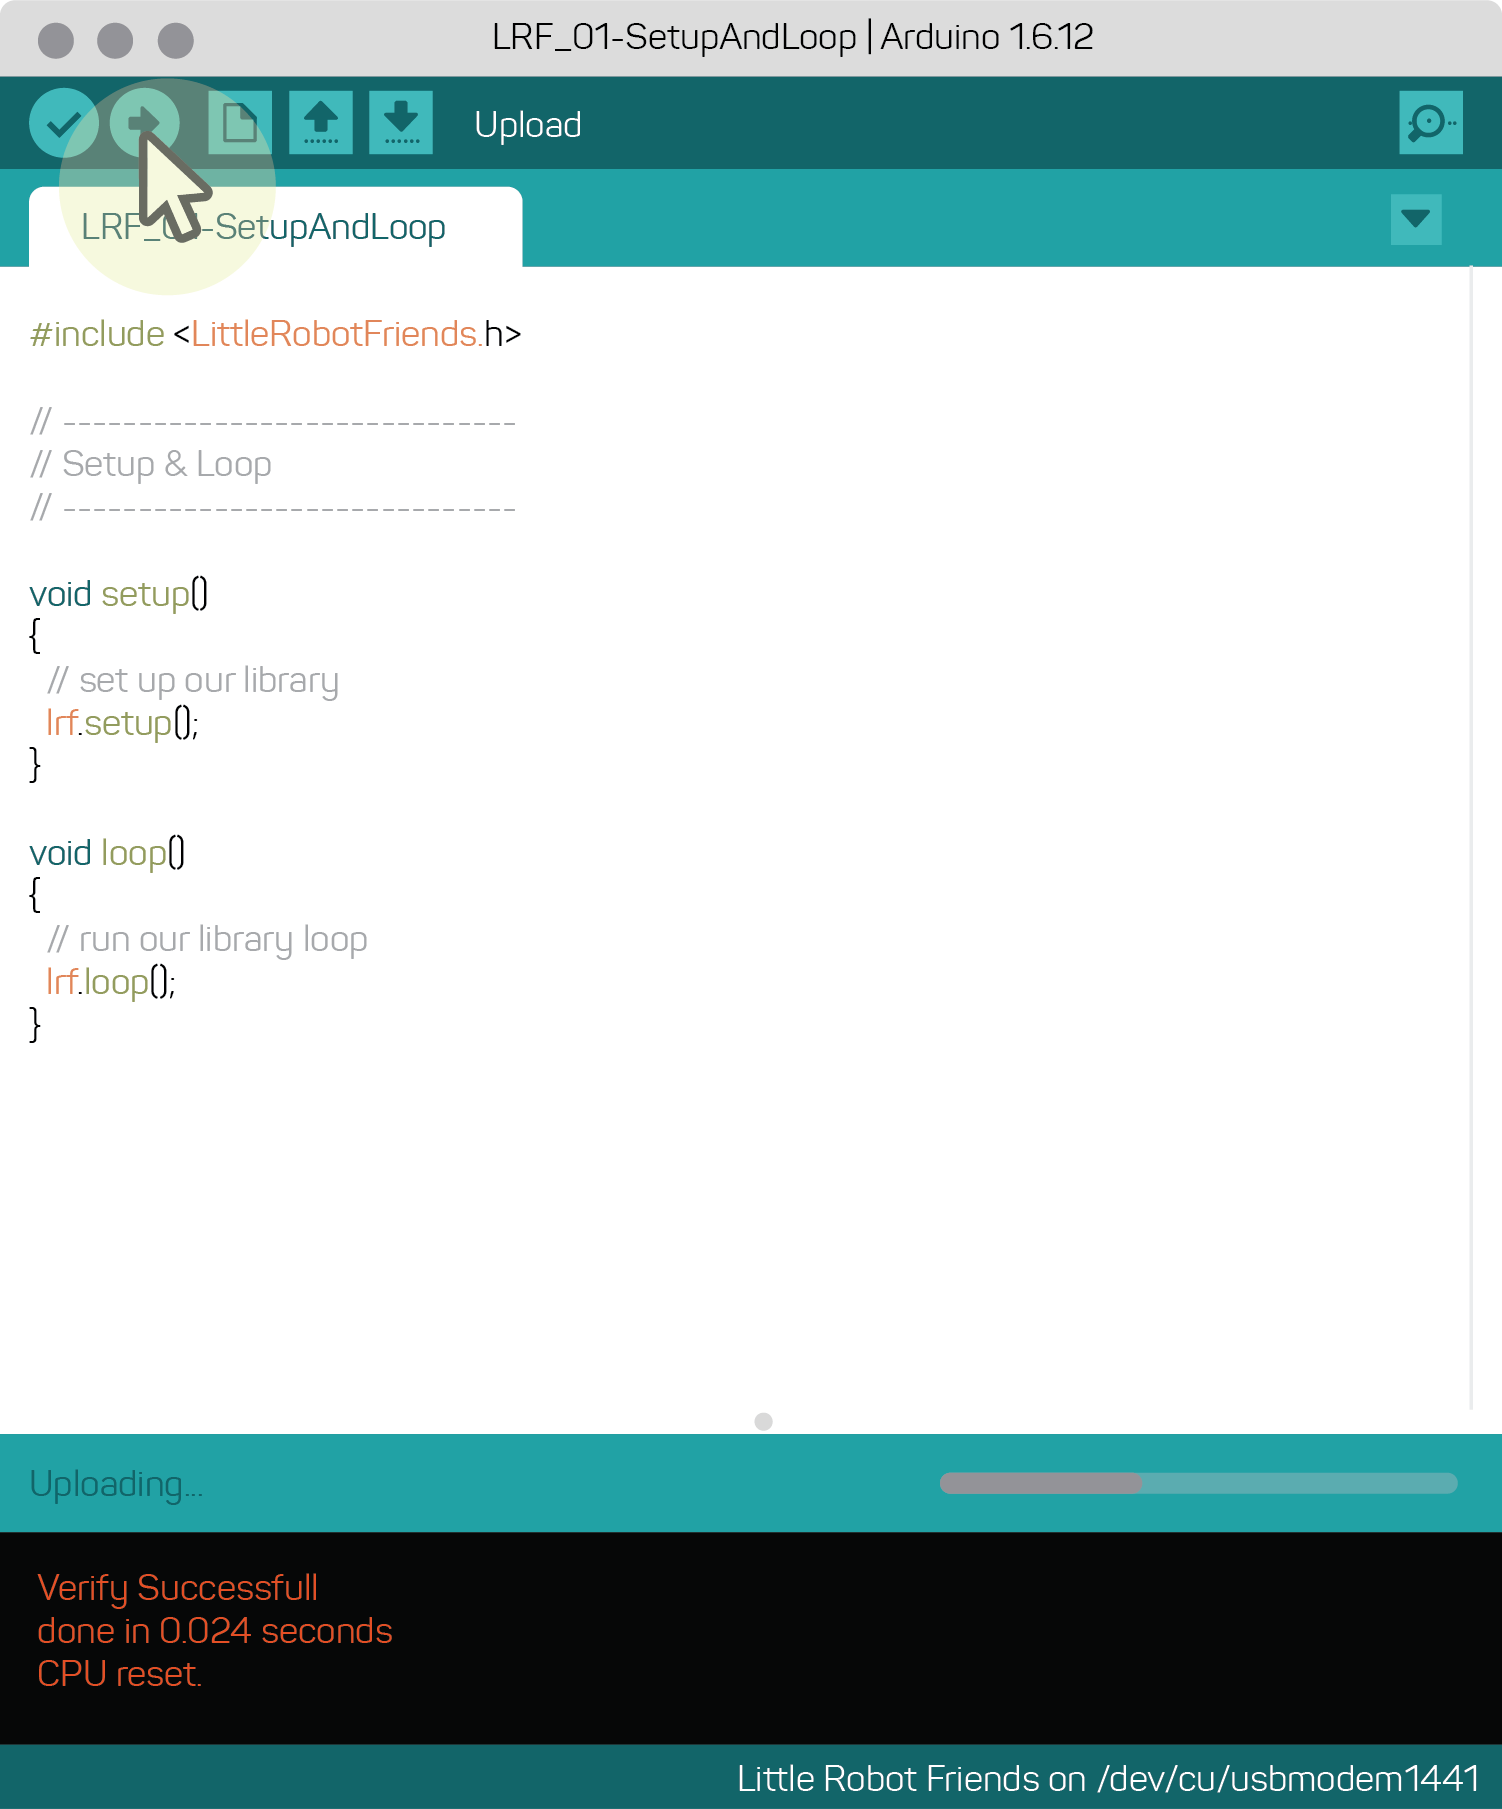
Begin with the Setup and Loop sketch.

Import your library at the top of the sketch. To learn more about how to read an Arduino Sketch and why this is important, go here.
#include <LittleRobotFriends.h>
Next, underneath #include you need to program your expression. You can name it whatever you’d like, but in this case we’re calling it myExpression. Set values for your pattern and sounds. Check the reference for the list of values you can assign!
LRFExpression myExpression =
{
  .pattern = { LRFColor_Green, LRFColor_Purple, LRFTransform_Boomerang, LRFDuration_DoubleLong },
  .sounds = {
    { LRFNote_C, LRFOctave_3, LRFIntonation_Flat, LRFDuration_DoubleLong, LRFDuration_Medium },
    { LRFNote_C, LRFOctave_3, LRFIntonation_Rising, LRFDuration_DoubleLong, LRFDuration_Medium },
    { LRFNote_C, LRFOctave_3, LRFIntonation_Falling, LRFDuration_DoubleLong, LRFDuration_Medium },
    { LRFNote_C, LRFOctave_3, LRFIntonation_Peaking, LRFDuration_DoubleLong, LRFDuration_Medium }
  }
};
It’s time to declare your Event Handler. We’ll call it myTapHandler, but you can name it something else. Inside the curly brackets there is a blinkAndSay function which plays your new expression. You’ll notice a special character in front of the expression variable: &. This is called a pointer reference. Basically, it tells your function where it can find the data it needs to run the expression.
void myTapHandler(LRFEvent event)
{
  lrf.blinkAndSay(&myExpression);

}
Inside of void setup() block, you need to run your lrf.setup() function. We’re also going to map the event to the event handler now. The function inside of the curly brackets has the event set to Hug on your robot’s hair.
void setup()
{

  lrf.setup();

  lrf.setEventHandler(LRFEvent_Hug, myTapHandler);

}
Lastly, run your lrf.loop() function. We won’t be adding anything else here.
void loop()
{
  lrf.loop();

}
Plug in your robot and upload the program.

Give your robot a tickle on the hair and you’ll hear and see the expression you just programmed!
If you’re having trouble with your code, download it to see what went wrong.
Download Button: expressions-code.zip