After you plug in your robot and launch the app, you’ll see a beginner tutorial. It’s super short, so try it out if you’d like!

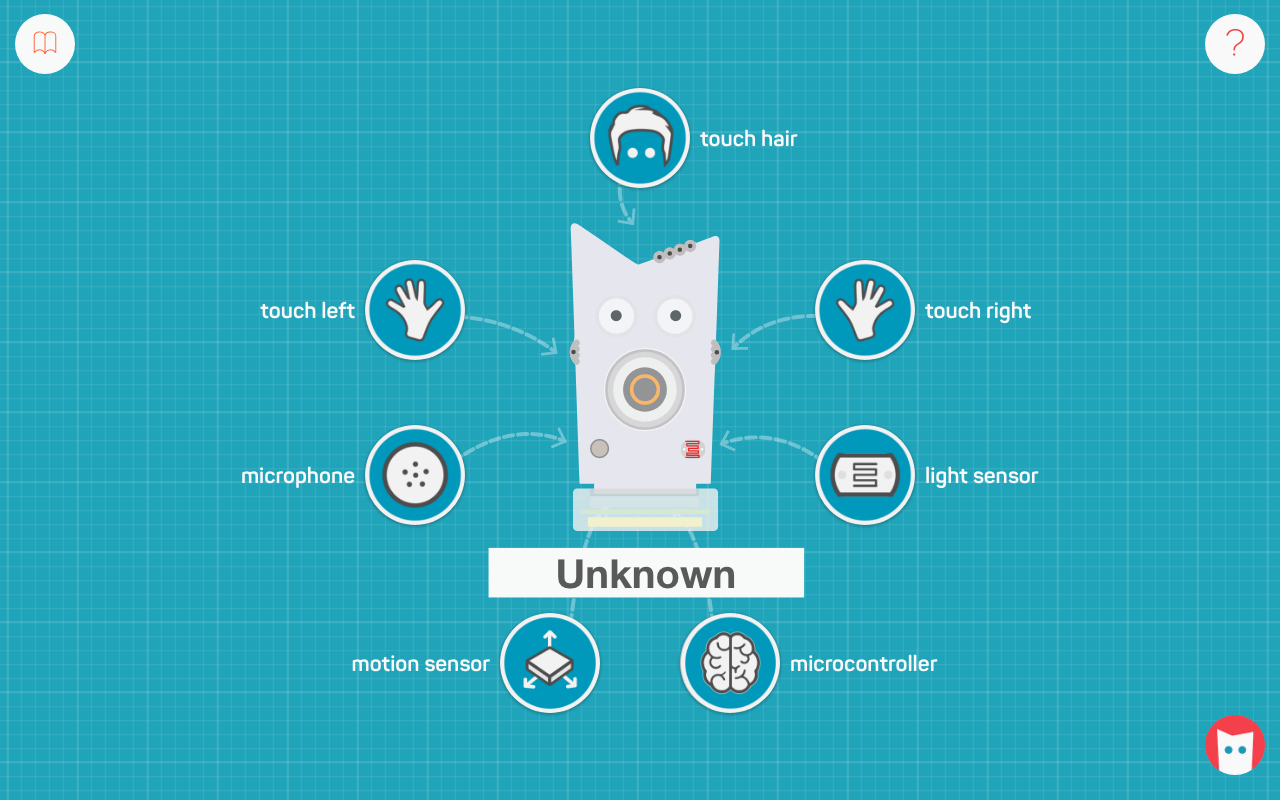
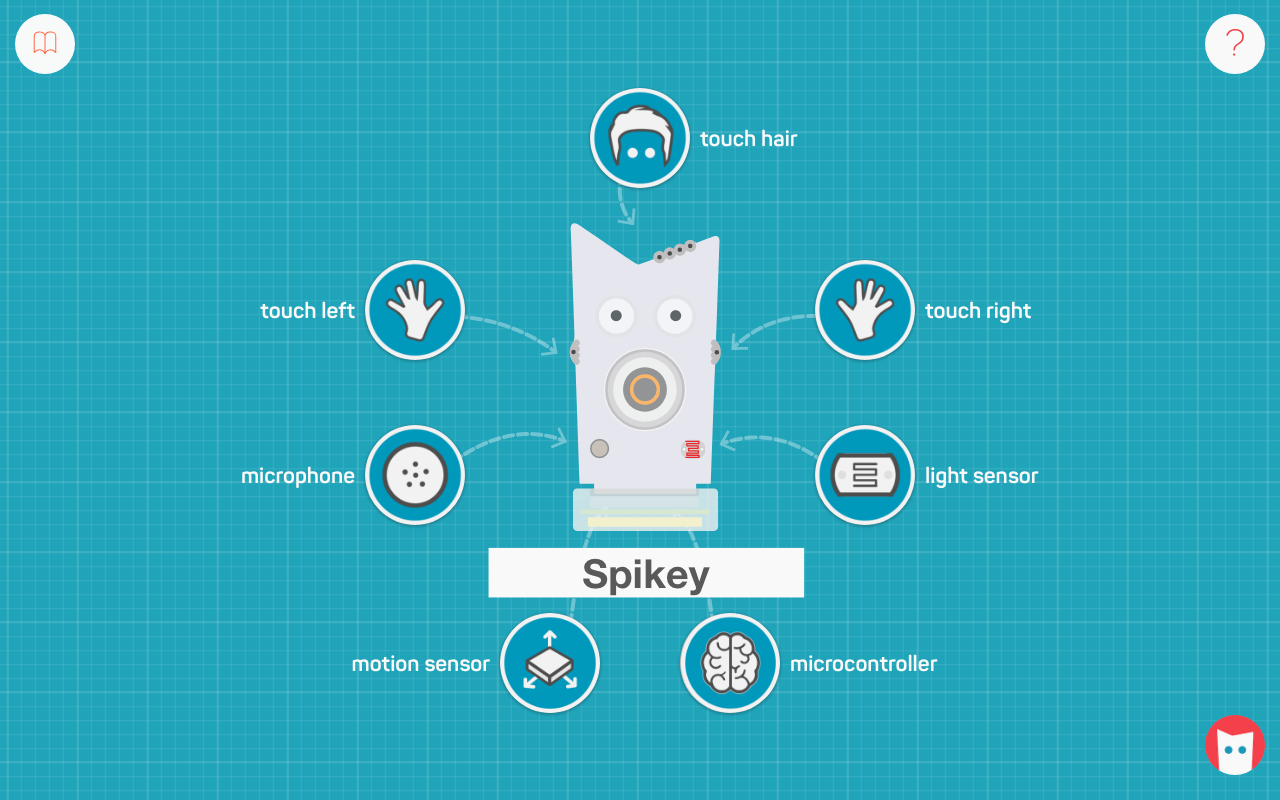
If you’re already done the tutorial. you’ll see a sensor screen with an image of your robot. Give your robot a special name by clicking on the default text ‘Unknown Robot’. Save the name by hitting enter or clicking anywhere outside of the name field.

On your screen, you’ll notice seven circles. They represent your robot’s sensors! There are three touch sensors (hair, left hand, and right hand), a light sensor, a sound sensor, and a motion sensor. The seventh sensor known as the brain sensor, isn’t really a sensor, but it allows you to change the state of your robot when it’s hungry and bored. These are all sensors you can program with a simple drag-and-drop in the App.

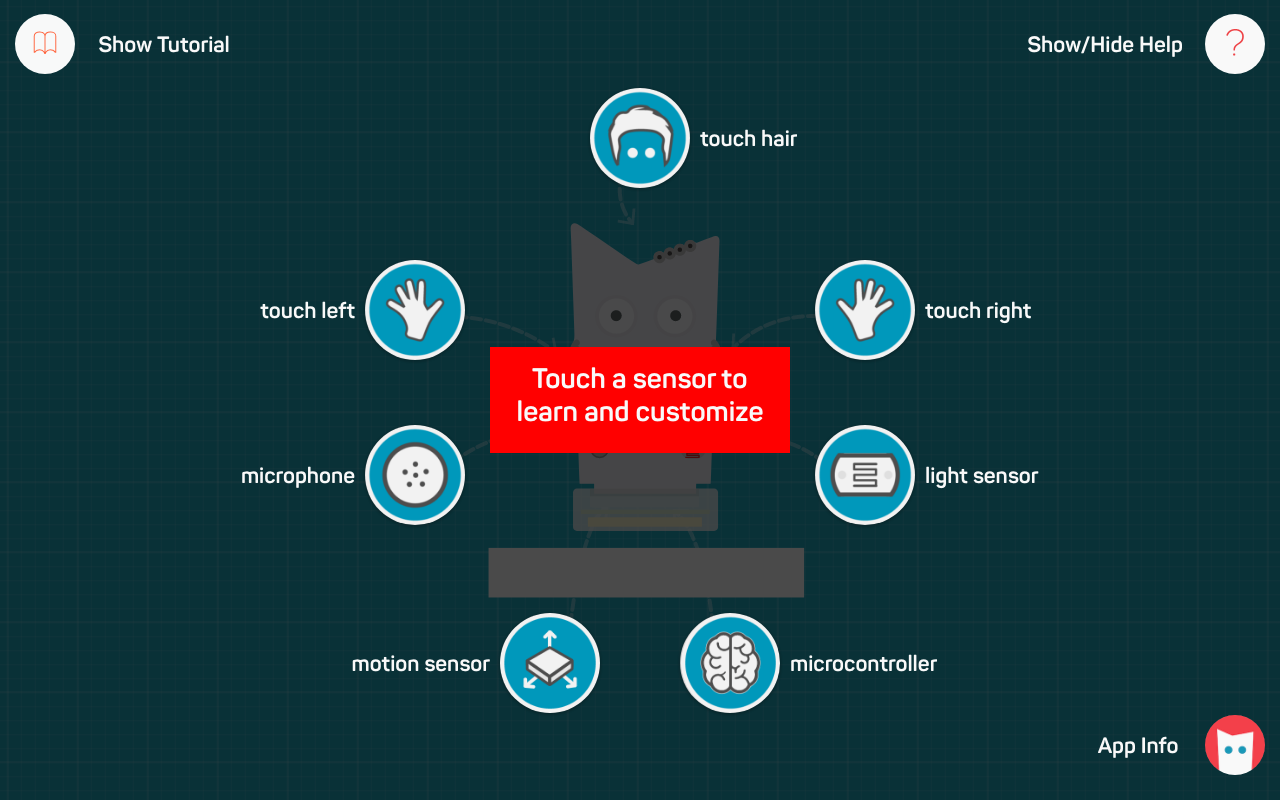
If you forget what each sensor icon means, click on the help button on the top right hand corner of the page!

To learn how to play and interact with your robot’s many sensors, go “here”