Let’s learn about the basics of programming your robot’s sound and speech with the Little Robot Friends Arduino Library. This is a really important feature because your robot has two main outputs: light and of course, sound!
There is a ¼ watt, 8 ohm speaker on the center of your robot’s face circuit. Your robot doesn’t speak English like you and me, instead it speaks in a language called Beepboopbese. This language is composed of a series of sound and light patterns. You can program your robot’s sound and speech using code!
A Sound, or LRFSound as written in code, is a combination of many parts including notes, octaves, intonations, durations, and pauses. All of these small components put together make sounds!
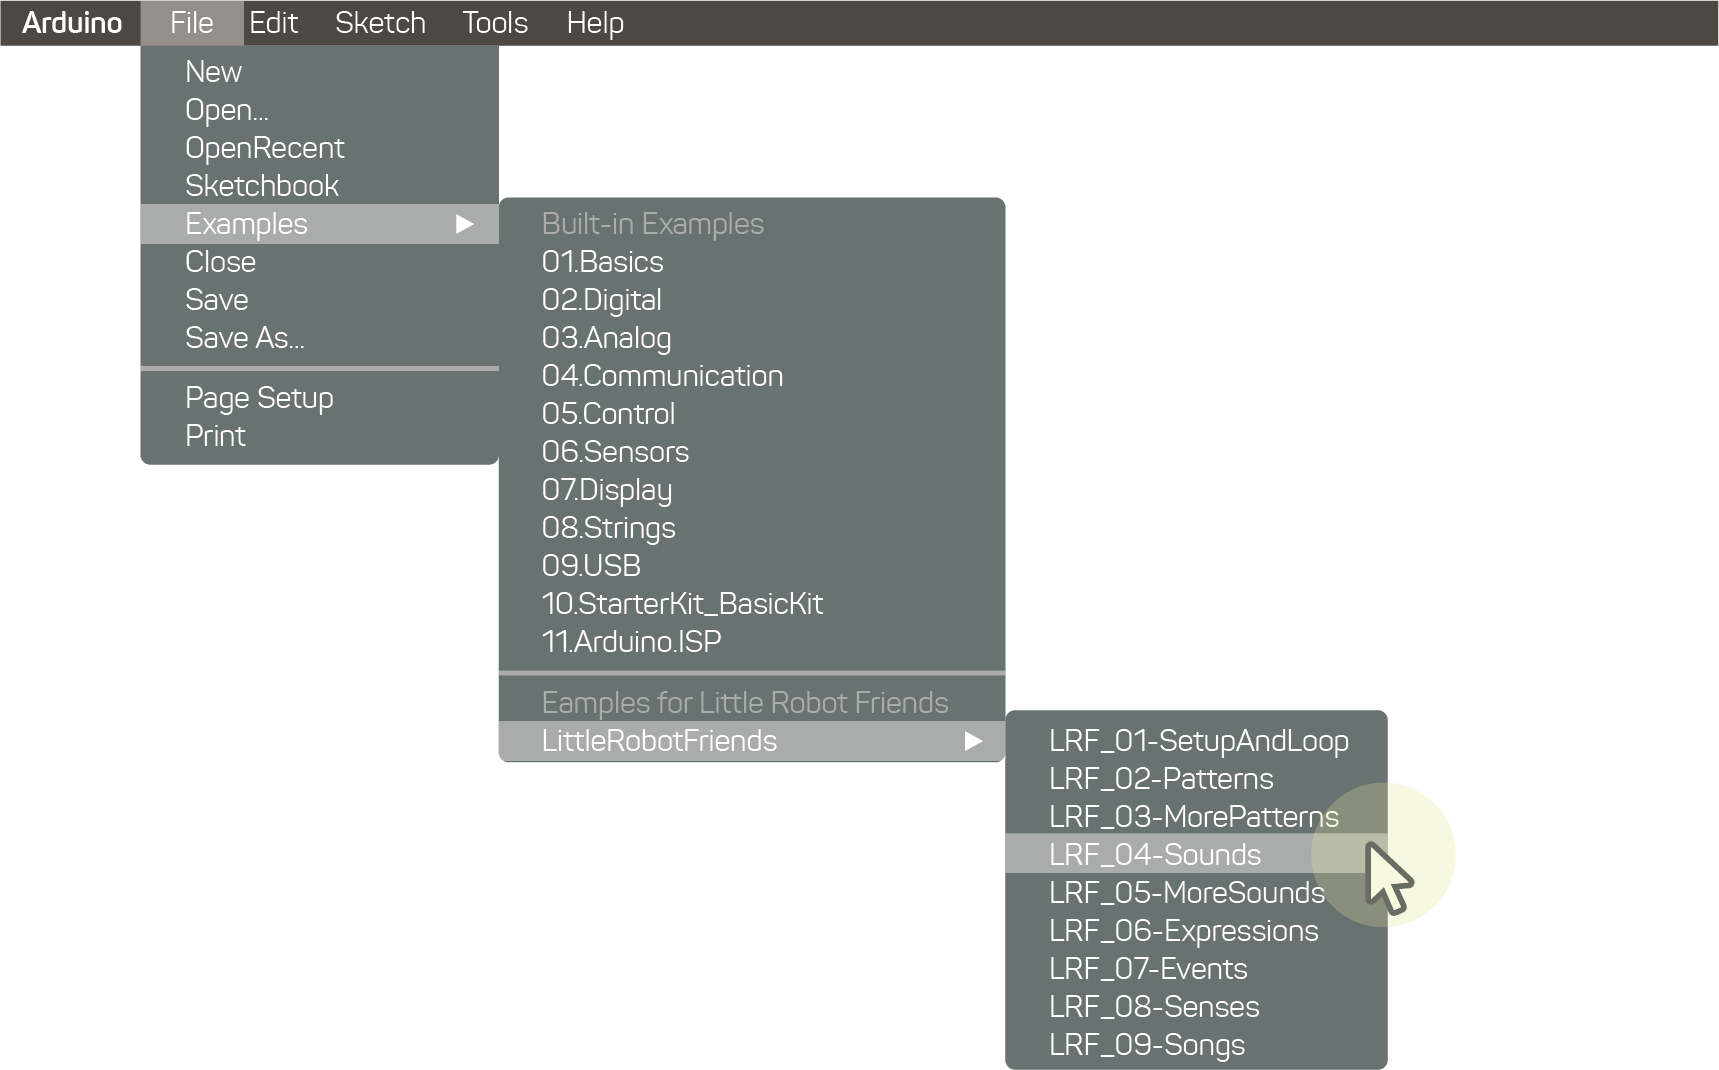
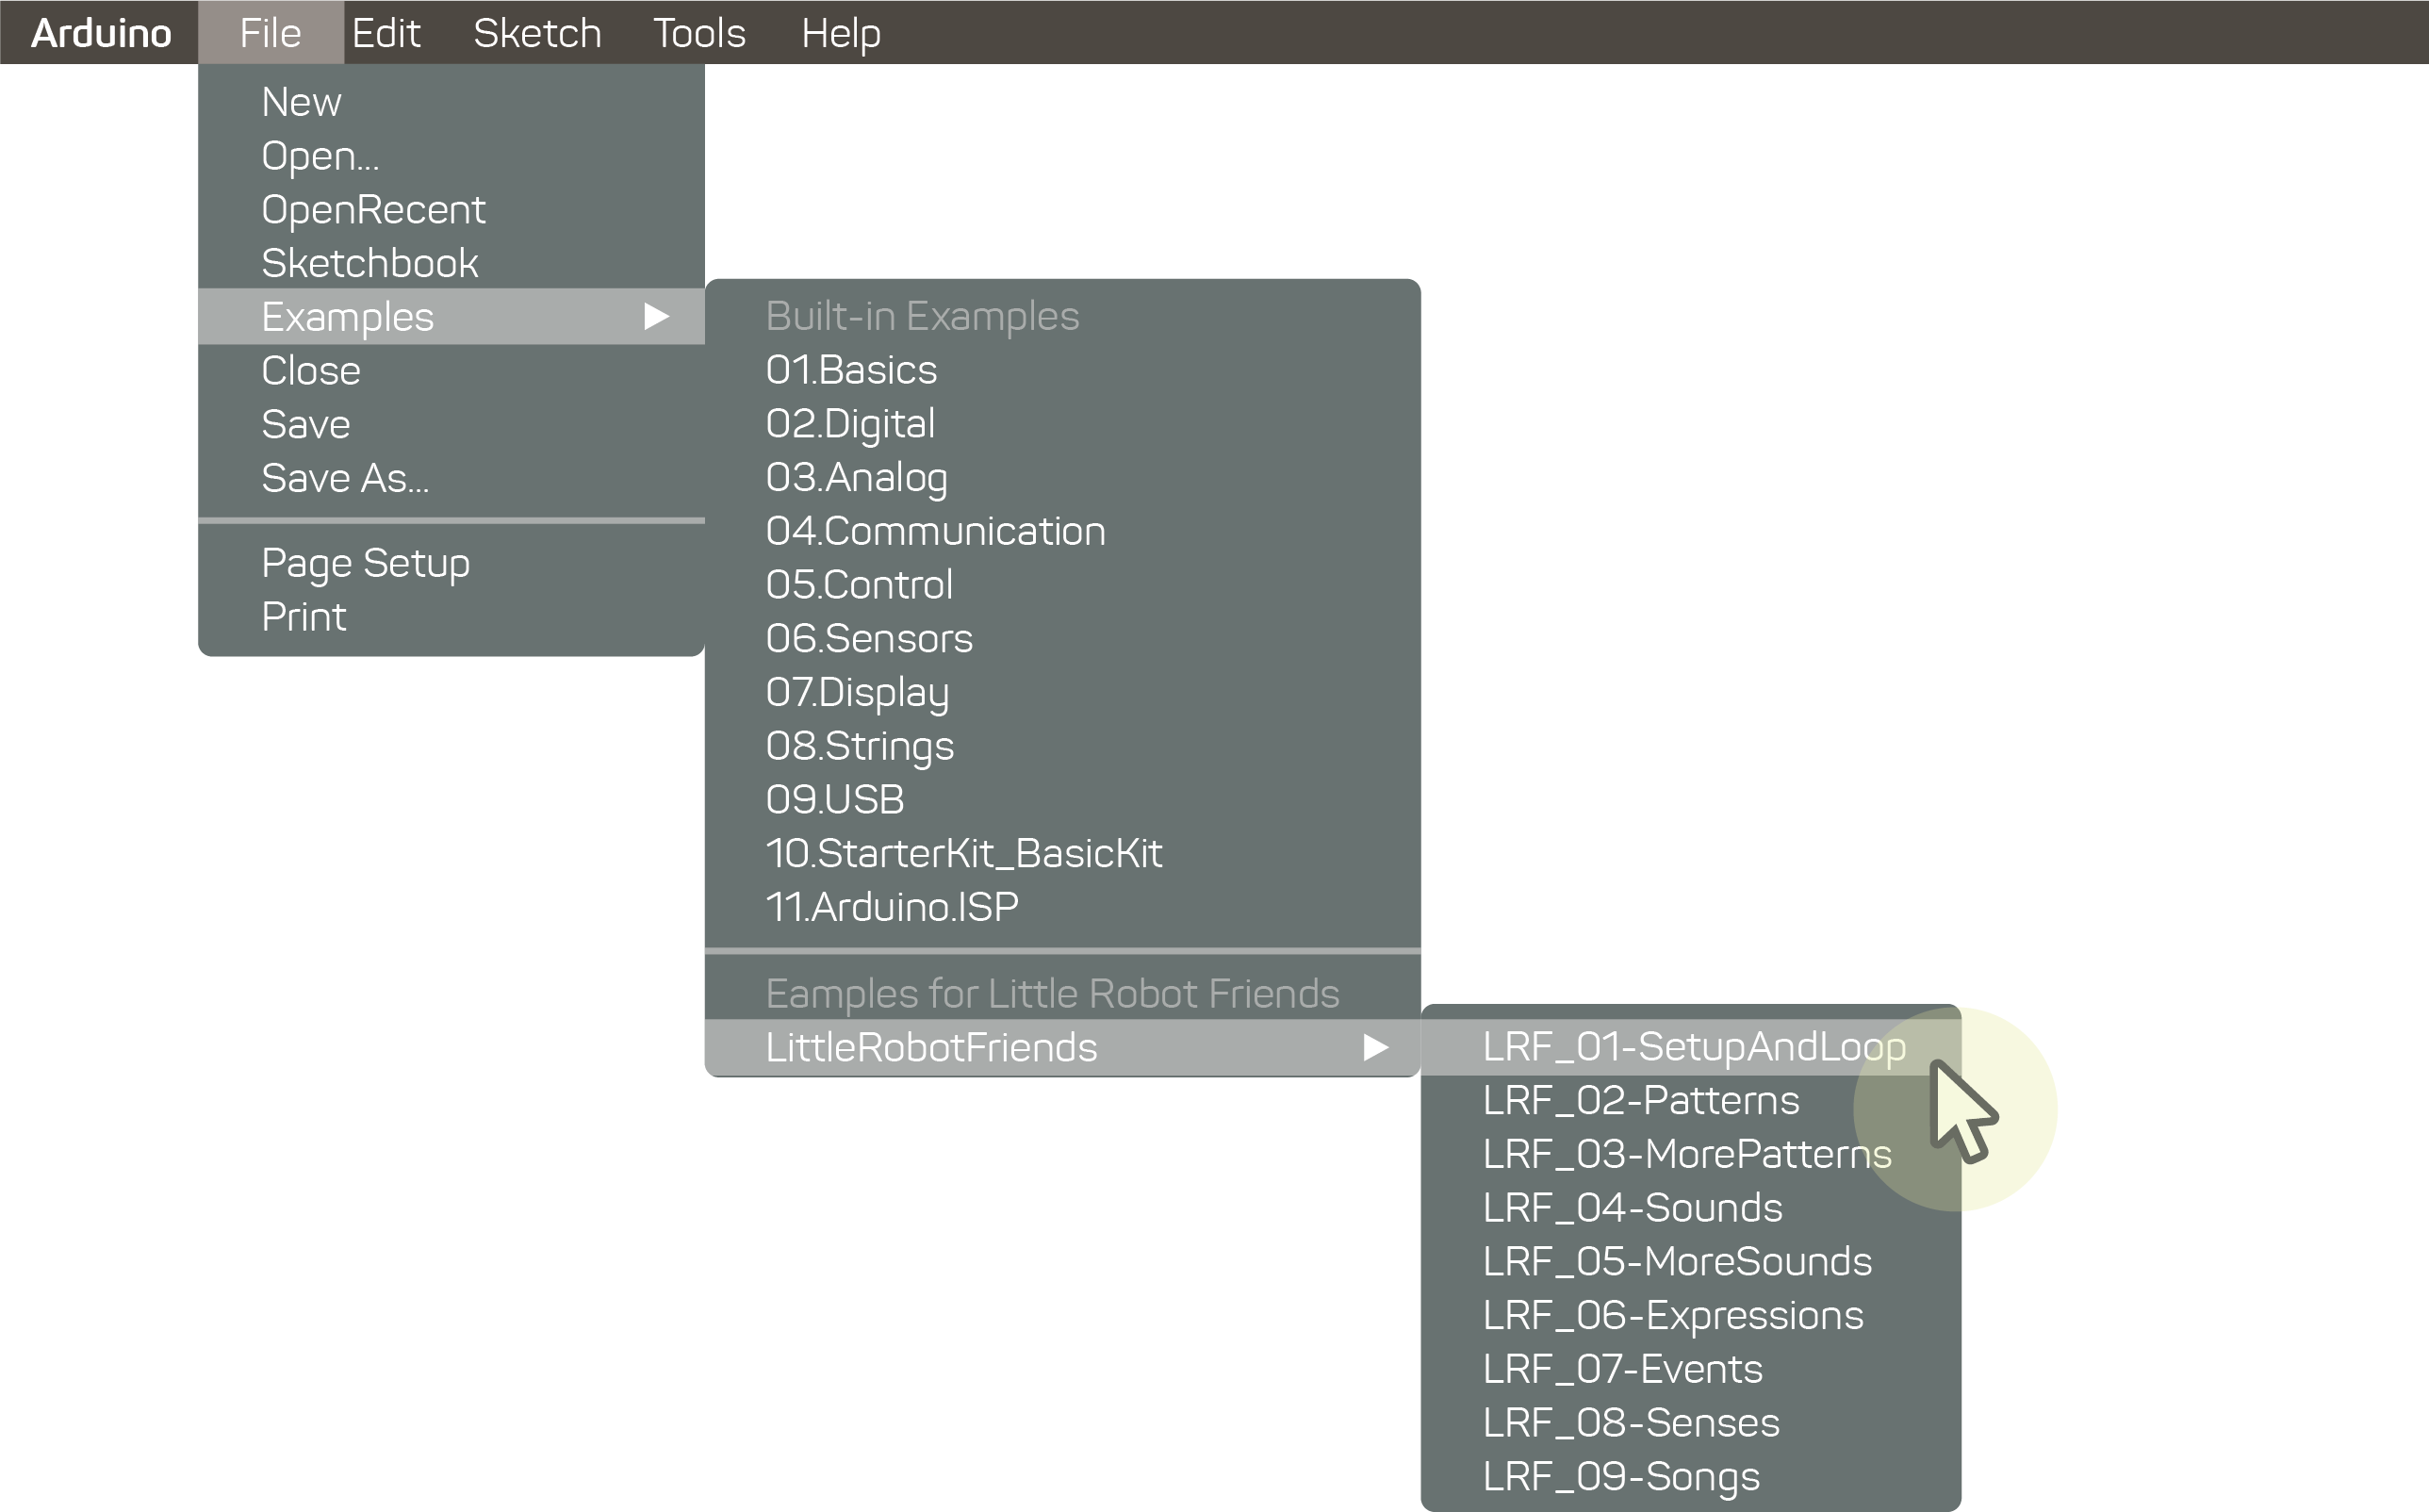
Let’s open up the Example Sketch: LRF_04-Sounds

There are two ways to code a LRFSound.
LRFSound mySound = {
  .note = LRFNote_A,
  .octave = LRFOctave_3,
  .intonation = LRFIntonation_Flat,
  .duration = LRFDuration_Long,
  .pause = LRFDuration_None
};
LRFSound myOtherSound = { LRFNote_C, LRFOctave_4, LRFIntonation_Rising, LRFDuration_DoubleMedium, LRFDuration_None };
In your Short Form code, you might have noticed two LRFDurations. What does this mean? The first duration is the length of the note. The last duration is the pause in-between notes. That’s the difference!
Additionally, there are many different values in notes, octaves, intonations, durations, and pauses. For example, think about a piano - you can play a range of notes from A to G, and even sharp notes too. Same with your robot! We’ll be showing you a list of these values next!
To define a LRFSound code you must keep the attributes in order (note, octave, intonation, duration, pause).
Check out a list of notes that can be assigned onto your robot.
| Constant | Value |
|---|---|
| LRFNote_A | A (55 hertz at octave #1) |
| LRFNote_AS | A# (58hz) |
| LRFNote_B | B (62hz) |
| LRFNote_C | C (65hz) |
| LRFNote_CS | C# (69hz) |
| LRFNote_D | D (73hz) |
| LRFNote_DS | D# (78hz) |
| LRFNote_E | E (82hz) |
| LRFNote_F | F (87hz) |
| LRFNote_FS | F# (92hz) |
| LRFNote_G | G (98hz) |
| LRFNote_GS | G# (104hz) |
| LRFNote_Mute | No Sound |
| LRFNote_NULL | NULL |
An Octave, or LRFOctave as written in code, is what we use to make notes sound higher or lower. Oct is a prefix that means eight. Think of an octopus! How many tentacles do they have? Eight! You can apply one of eight different octaves to your sounds to make it sound high or low, but the base note will stay the same!
Check out a list of octaves that can be assigned onto your robot.
| Constant | Value |
|---|---|
| LRFOctave_1 | Lowest possible octave (some notes cannot be played) |
| LRFOctave_2 | Lower octave |
| LRFOctave_3 | Middle-low octave |
| LRFOctave_4 | Middle octave |
| LRFOctave_5 | Middle-high octave |
| LRFOctave_6 | High octave |
| LRFOctave_7 | Higher octave |
| LRFOctave_8 | Highest possible octave |
An Intonation, or LRFIntonation as written in code, represents the inflection of a sound. Think about the way you talk. When you ask a question does it sound the same as when you make a statement? Probably not. That’s because you modulate your voice to make it sound questioning. It’s similar to the intonations we apply to our robot’s sound. This can make the robot sound expressive in many ways!
Check out a list of intonations that can be assigned onto your robot.
| Constant | Value |
|---|---|
| LRFIntonation_Flat | Flat tone (no change) |
| LRFIntonation_Rising | Rising tone (happy or excited) |
| LRFIntonation_Falling | Falling tone (sad or upset) |
| LRFIntonation_Peaking | Peaking tone (rises, then returns to normal) |
| LRFIntonation_Dipping | Dipping tone (falls, then returns to normal) |
A Duration, or LRFDuration as written in code, represents time. Durations can be used in a few different situations. They can be used to determine the length of a note, the length in-between notes (or the pause), and also the amount of time a colour fades in and out. Most commonly, they’re used for programming sound, speech, and song.
Check out a list of durations that can be assigned onto your robot.
| Constant | Value |
|---|---|
| LRFDuration_None | Oms (no duration) |
| LRFDuration_Short | 50ms (1/16 note) |
| LRFDuration_DoubleShort | 100ms (1/8 note) |
| LRFDuration_Medium | 200 ms (1/4 note) |
| LRFDuration_DoubleMedium | 400 ms (1/2 note) |
| LRFDuration_Long | 800ms (whole note) |
| LRFDuration_DoubleLong | 1600ms (double whole note) |
| LRFDuration_VeryLong | 3200ms (quadruple whole note) |
Now that you have a fundamental understanding of sound, let’s try to program your first sound on your robot from scratch.
Begin with the Setup and Loop sketch.

To begin, import your library at the top of the sketch. To learn more about how to read an Arduino Sketch and why this is important, go here.
#include <LittleRobotFriends.h>

Next, underneath #include you need to program your sound. You can name it whatever you’d like, but in this case we’re calling it mySound. Set values for the note, octave, intonation, duration, and pause.

LRFSound mySound = {
  .note = LRFNote_A,
  .octave = LRFOctave_3,
  .intonation = LRFIntonation_Flat,
  .duration = LRFDuration_Long,
  .pause = LRFDuration_None
};
It’s time to declare your Event Handler. We’ll call it myTapHandler, but you can name it something different. Inside the curly brackets there is a saySound() function which plays your new sound.
We use the prefix lrf.speech in front of our saySound function because it is being called from the “eyes” section of our library. Think about the library in your neighbourhood. There are so many books! How do you find them all? The aisles and bookshelves are all labelled with genres and subgenres, which helps you find your books!
void myTapHandler(LRFEvent event)
{
  lrf.speech.saySound(mySound);

}
Inside of void setup, you need to run your lrf.setup() function. We’re going to map the event to the event handler now. The function inside of the curly brackets has the event set to Tickle on your robot’s hair.
void setup()
{
  lrf.setup();

  lrf.setEventHandler(LRFEvent_Tickle, myTapHandler);

}
Lastly, run your lrf.loop() function. We won’t be adding anything else here.
void loop()
{
  lrf.loop();
}
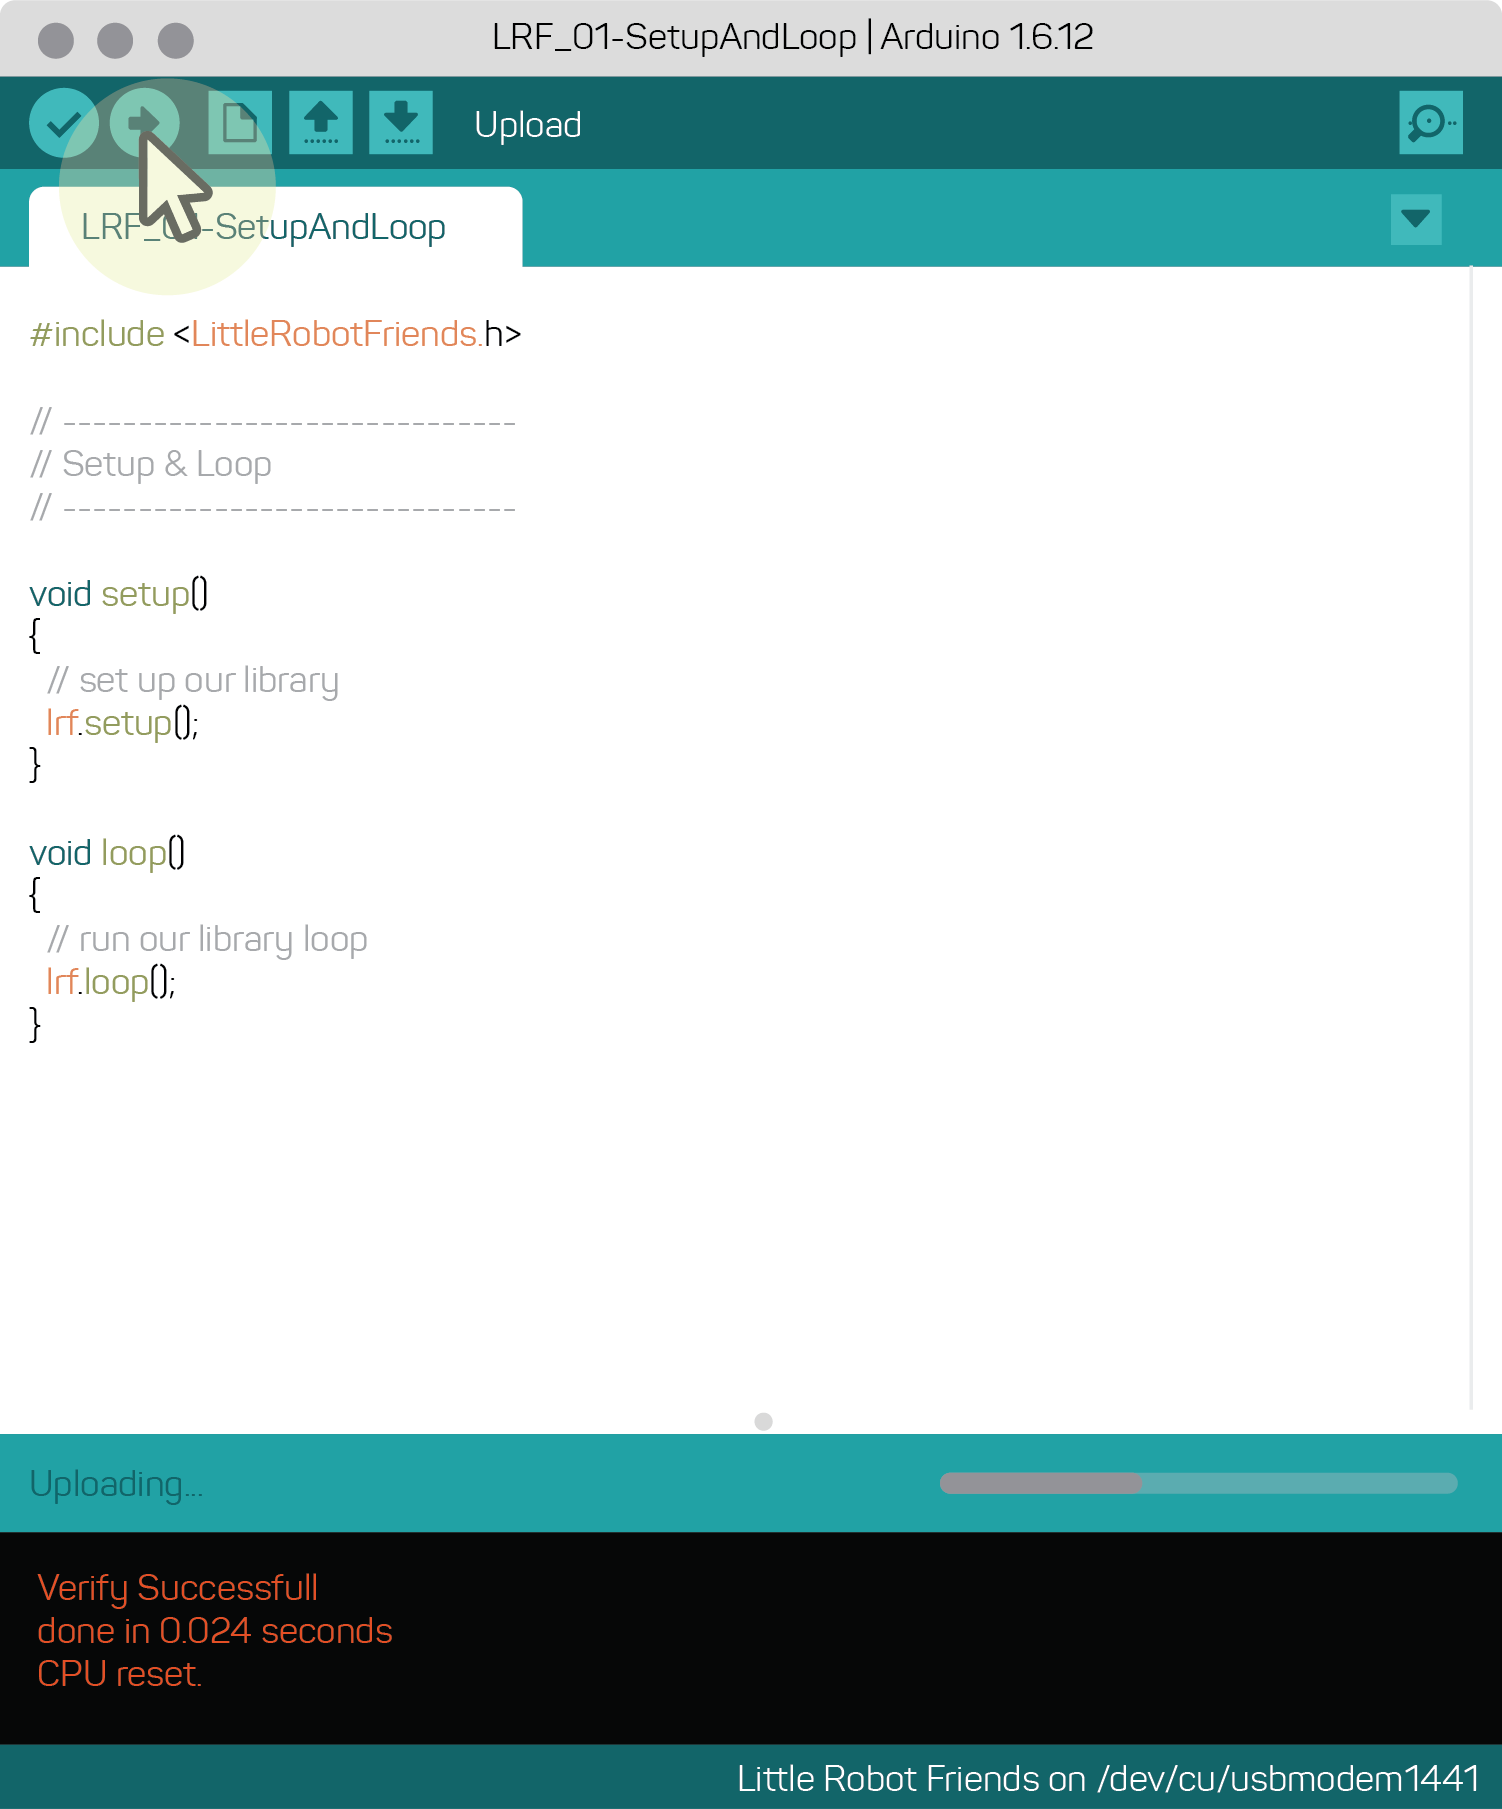
Plug in your robot and upload the program.

Give your robot a tickle on the hair and you’ll hear the sound you just programmed! You won’t see any lights on your robot’s eyes, because we’re just focusing on sound in this lesson.
If you’re having trouble with your code, download it to see what went wrong.
Download Button: sounds-and-speech-code.zip